Using Panhandler
Once installed and running, use your web browser to access panhandler.
Access the web portal
For your local device:
http://localhost:80 (for a standard web port)
http://localhost:9999 (using a defined port, eg. 9999)
The default username and password is: paloalto and panhandler
Set the Configuration Target
Before choosing skillets to load, set the configuration target IP and username/password credentials. This stores the device credentials to be used for API access.
Jump to Panhandler Environments to set the environment.
Choose Skillets to View by Collection
From the main panhandler menu, select Skillet Collections to see available Skillet Collections. A collection is a group of Skillets.

Select Go on the card for the desired collection to see all Skillets that belong to that collection. Any Skillet builder can create their own collection.
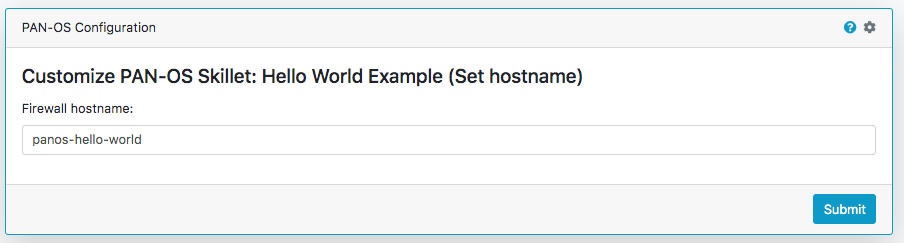
Select the Skillet to Load
A list of templates will be available to load into your device. Select the desired item and enter the form data.
The final form will be the target information for API config loading. Confirm the correct values and submit.
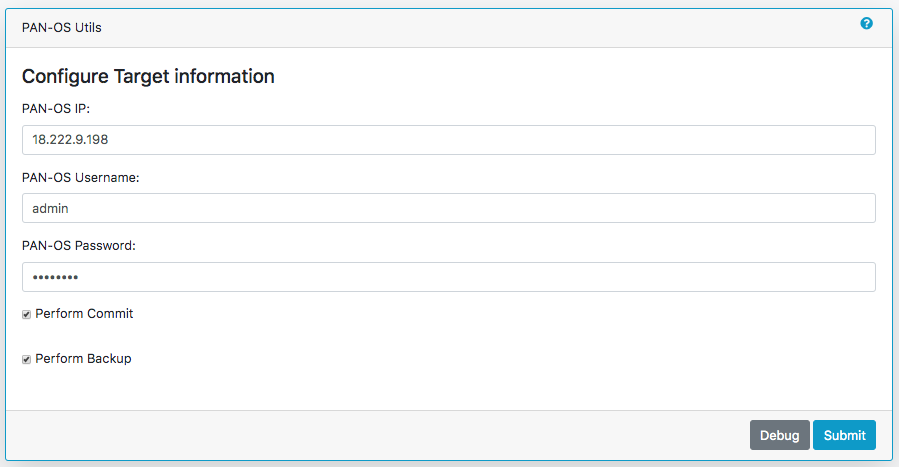
For PAN-OS types, you can choose to check or uncheck the ‘Perform Commit’ option to push the configuration then do a ‘commit’ or only push the configuration without a commit.
You can also check or uncheck the ‘Perform Backup’ option to create a named configuration backup on the device prior to pushing the new configuration. This provides a roll back mechanism should you desire. The named backups will be named with the following format: panhandler-20190101000000.xml (panhandler followed by the current timestamp)
Warning
Validate the device type and software version matches the skillet. For example, you will get errors if trying to load a Panorama template into a firewall. There are also cases where you cannot mix sofware versions and loading a v8.1 configuration into a v8.0 device will result in errors.
Warning
Some templates may have dependencies requiring elements to be previously loaded into the system or from other templates. Examples may be certificates, security objects, log forwarding profiles, etc. Check template documentation and look for any specific dependencies.
Once the load has completed, you can select another template to load to the same device or choose another Environment to load a configuration to another device.
Note
Commit operations are queued in the background on the device. If you chose to commit the configuration on the edit target screen, then a Job ID will be displayed in the success message. You can then use this Job ID to view the status of this commit operation either via a Skillet or on the PAN-OS device directly.
Understanding what will be pushed
You have two options to examine what configurations will be pushed by a skillet. The first, is to simply uncheck the ‘Perform Commit’ checkbox. Then you can log into the device and issue a show config diff command from the CLI.
You can also select the ‘Debug’ button from the Edit Target screen. This will display a list of all fully rendered XML snippets and the xpaths where they will be inserted into the configuration heirarchy.

Adding a New Skillet Repository
Panhandler is preloaded with a wide set of skillets yet you may still have to manually add skillet repos.
Import a New Skillet
From the main menu, choose Import Skillets.
The import repository fields allow you to specify the repo name and URL to import. You may import repositories from any git server, including GitHub, gitlab, gogs, etc.
To import a repository from Github, click on the ‘Clone or Download’ button and copy the full HTTPS link shown.

Warning
Private Repositories must use the SSH based URL. You must also import your Panhandler SSH Key into your private repository.
Also, note which branch you want to import. The list of available branches can be found in Github by clicking the ‘Branch: master’ button on the main page of the repository.

Enter this information in the ‘Import Skillets’ form to import the repository and gain access to the Skillets contained within.

Once successful, you will see the complete list of imported repositories including the newly added repo.
At this stage, going to the Template Library will show any additional skillets in their respective categories.
Update a Skillet Repository
From the main menu, choose Repositories.
Click on Details for the repository of interest.
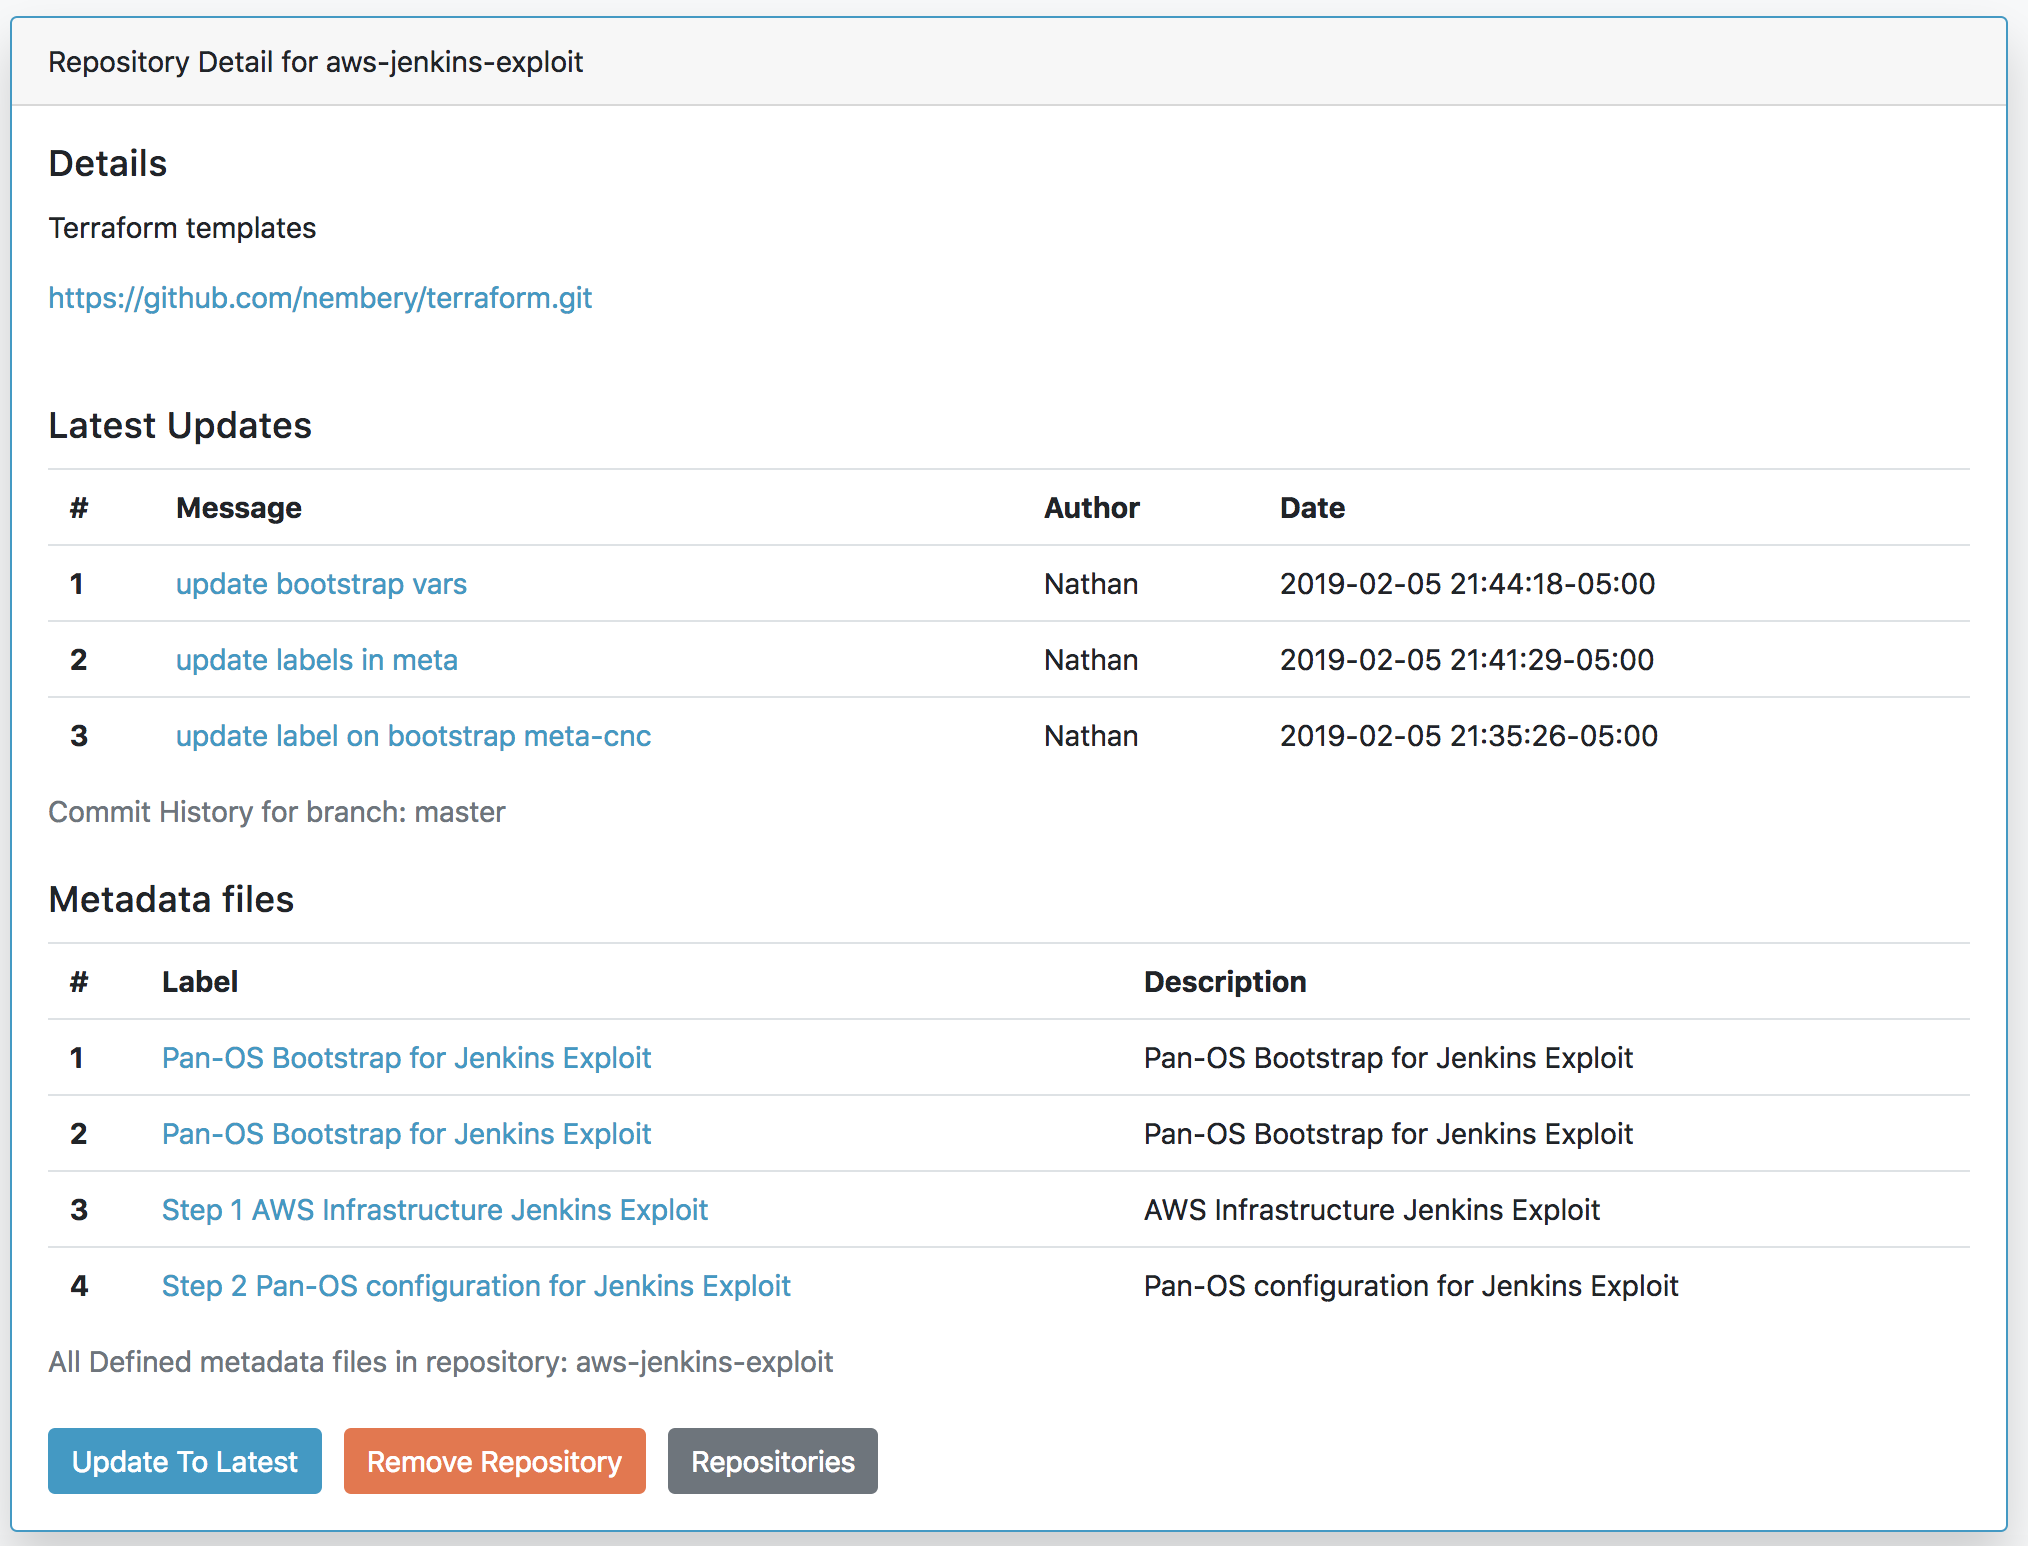
The repo window will show a description of the repo along with the last few content changes.
Choose Update to Latest to check for and pull template updates.
Note
Already up to date will show that no changes were made to the source skillet and no udpates required.
Using a Private Git Repository
In order to use private repositories, you must first import the Panhandler public SSH key into your upstream repository or account.
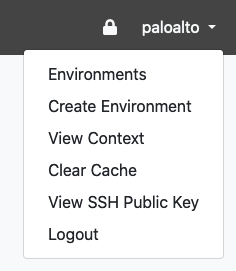
Use the ‘View SSH Public Key’ option in the user menu to see the autogenerated key for Panhandler.
Instructions for importing this key into your repository can be found here:
Warning
You must use the SSH based git URL when importing your private repository as HTTPS authentication is not supported!
Panhandler Environments
Often times, it is desirable to store environment specific data outside of a git repository. Panhandler provides a mechanism to do this using ‘Environments’.
What is an Environment
An environment is a collection of secrets that can be loaded and managed as a unit. For example, you may want to keep all AWS related secrets together in an environment called ‘AWS’. When panhandler displays a web form from a configuration set, any variables from the configuration template that share a name with a secret in the currently loaded environment, that value will be pre-populated.
This is especially useful if you have multiple environments such as ‘AWS-QA’, ‘AWS-PROD’, and ‘AWS-DEV’.
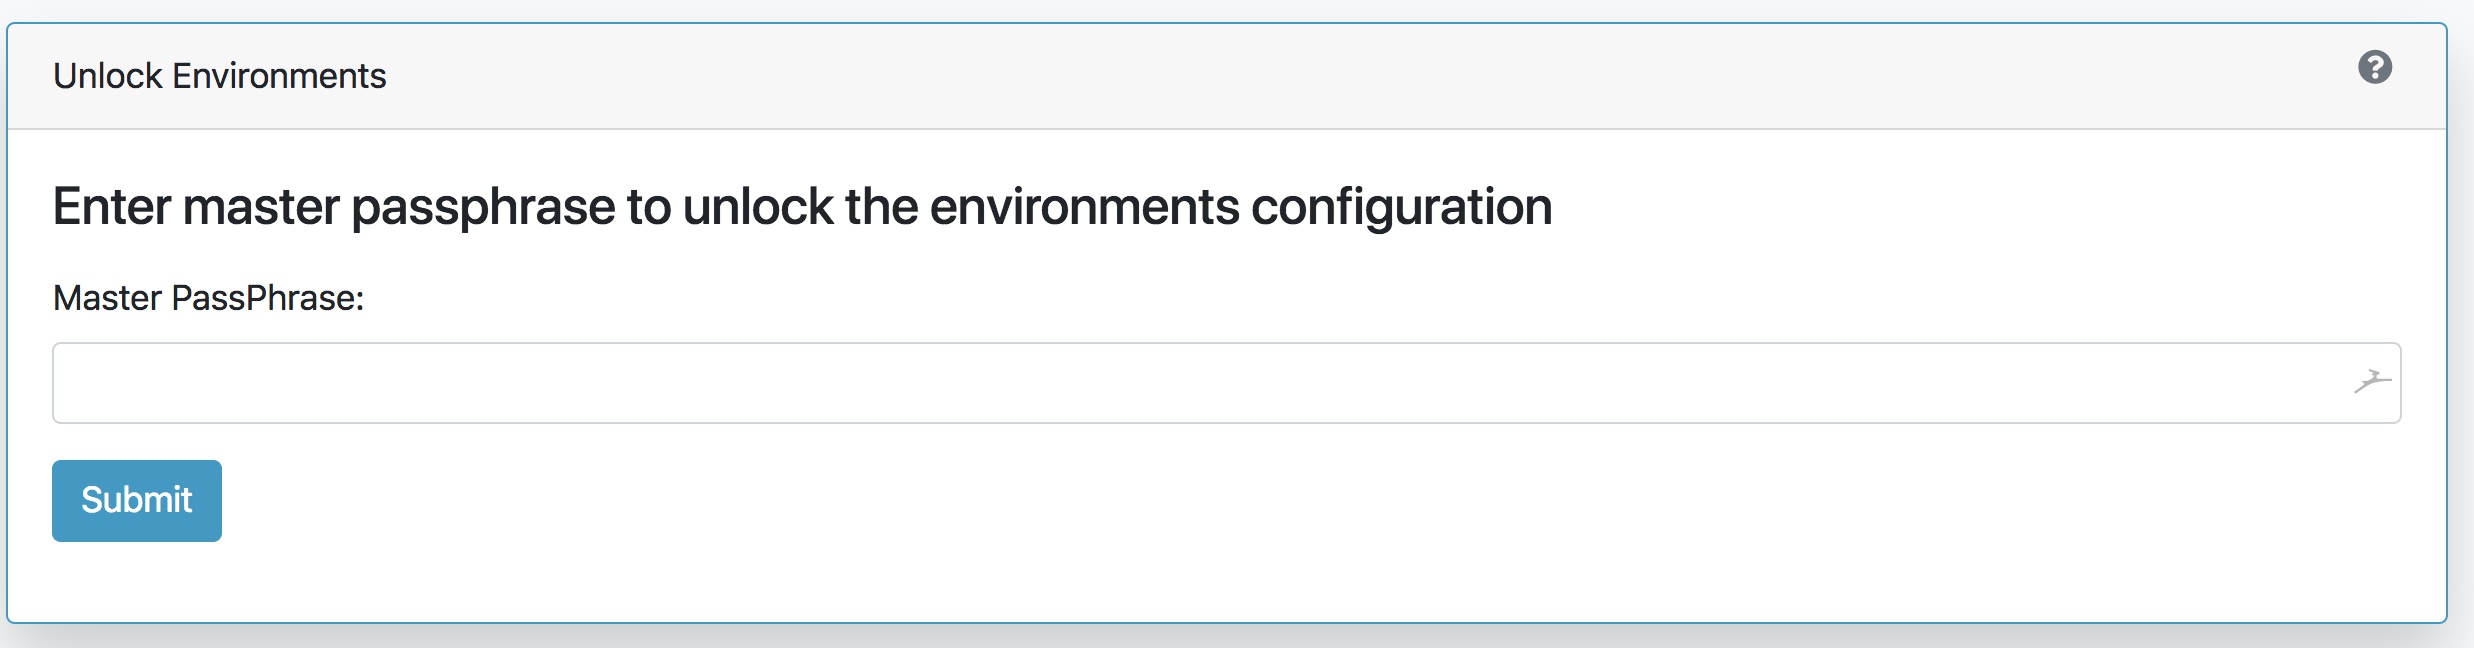
Unlocking Environments
To load an environment, click on the ‘lock’ icon on the right of the navigation bar.

You will be presented with an unlock password dialog. This password will be used to protect any secrets you store in your environments in an encrypted file in your home directory. If this encrypted file does not already exist it will be created and protected with the password you enter here.
Once unlocked, you can manage your environments by creating new ones, cloning, configuring, or deleting existing ones.
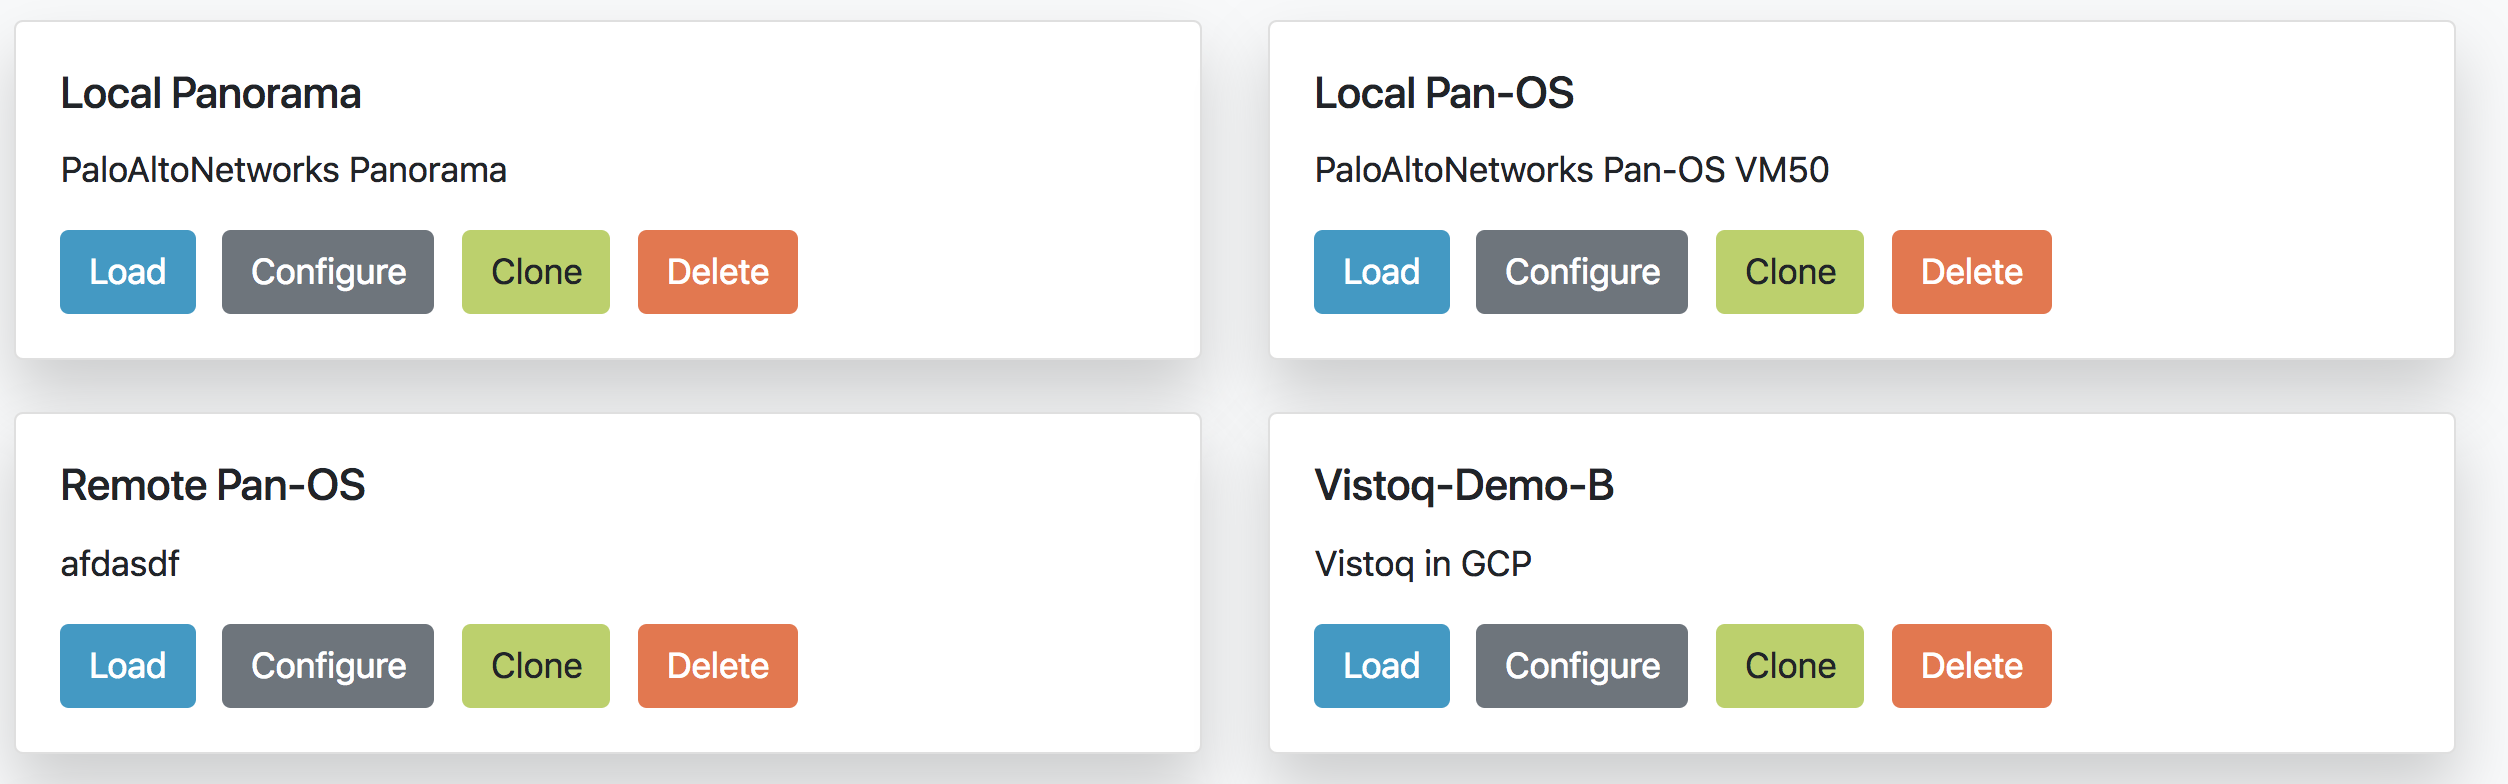
Choosing the ‘Configure’ option on an environment allows you to add, remove, or overwrite secrets stored within them.

Choosing to ‘Load’ an environment makes that env available to pre-populate template fields. It will also be available as a ‘pop-over’ that you can use to copy and paste secrets into template fields. This is useful when you want to store secrets like API_KEYS
Note
Template variables that share the same ‘name’ as a secret in the currently loaded environment will be pre-populated with the value of that secret. You can find the exact name of a specific variable field by looking at the ‘.meta-cnc.yaml’ file for that form.
